This humorous and relatable blog post tells the story of my comically unsuccessful attempt at building the perfect snowman, one that doesn’t resemble a sad, misshapen blob. Every year, as soon as the first snowflakes fall, I get this ambitious idea of constructing a flawless snowman, complete with perfectly round snowballs and a carrot nose. But as any seasoned snowman-builder knows, the reality of snowman construction often doesn’t live up to the expectations.
It quickly became apparent that the ideal symmetry I had envisioned was soon to be gone for my snowman as I rolled the base. The bottom went out of shape; with each layer balanced atop, it only seemed to worsen. The balls became uneven, the middle was in danger of toppling over, and the head would not behave. Still, I persisted, believing that the addition of accessories—a crooked carrot nose, mismatched eyes, and a hat that was a little too big—would somehow make my creation into a masterpiece.
After all, though the snowman was full of flaws, it somehow had an appeal to it due to imperfection. So, after all, building a snowman is less about perfection and more about having fun with the process while being creative. My snowman, though not that idyllic version that had been running in my mind, still had plenty of character to it, reminding me of the time that sometimes, the mistakes make something really special.
So, if you’ve ever struggled to build the perfect snowman, you’ll find comfort in my snowy misadventures. The blog is a lighthearted reflection on embracing the imperfections of winter fun and the joy of simply enjoying the process.

My Attempt to Build a Snowman That Doesn’t Look Like a Blob
Winter is the season for cozy blankets, hot cocoa, and, of course, snow. When the first snowflakes fall, it’s like a signal to unleash your inner child. Suddenly, I find myself thinking about snowmen—yes, the classic, round, carrot-nosed characters that populate the winter landscape in holiday movies and greeting cards. The thought occurs to me every year: This year, I’m going to build the most perfect snowman ever. You know, the kind—perfectly round, stately, with coal eyes and a carrot nose. A snowman that doesn’t look like a deranged blob struggling to keep it together.
Spoiler alert: My snowman never turns out to be as great as I imagine it will be. Instead, it turns into a sad, sad lump of snow that vaguely resembles the shape of a person… sort of. But this year, I was determined to break the mold. This year, I would defy snowman-building laws and create something worthy of Instagram likes. (Because if it’s not on Instagram, did it even happen?)
I woke up to the perfect snowfall. The kind where the snow is still fluffy, untouched, and waiting for someone to come along and mold it into something magnificent. There was a sense of urgency in the air. As I looked out the window, my mind was flooded with visions of the perfect snowman standing tall in my yard—proud, snow-covered, and absolutely flawless. I grabbed my scarf, my gloves, and a hat (that I’d never wear anywhere else), ready to build the snowman of my dreams.
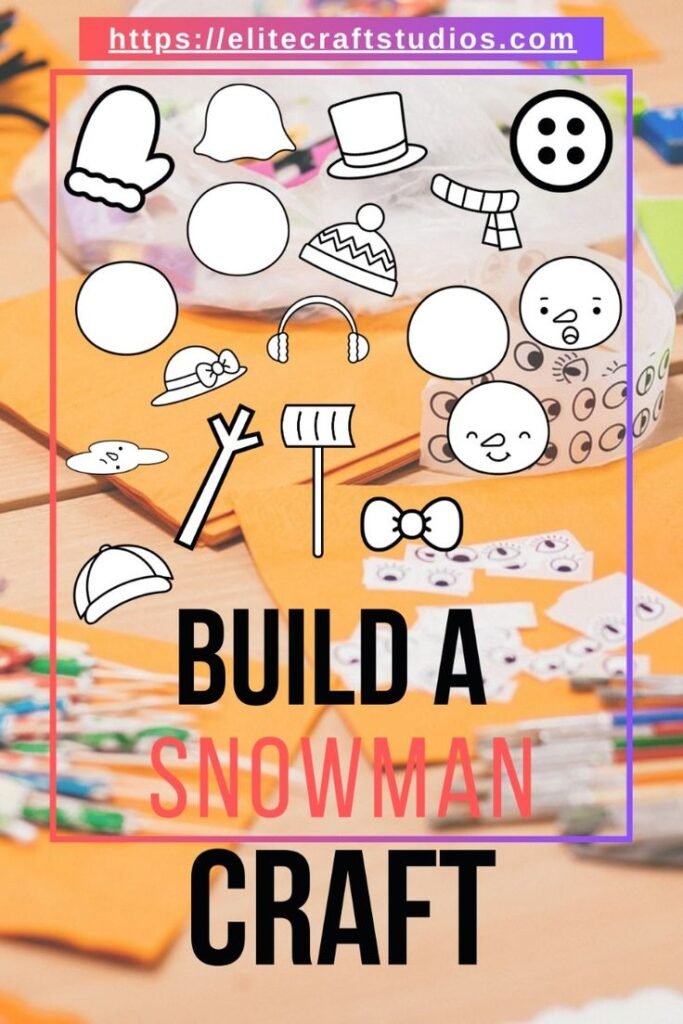
Step 1: Setting the Foundation
It looks very simple to build a snowman. Just roll some snow together, and you’re going to have this frosty masterpiece. However, the thing is, things aren’t really that easy. At least, not the first time. First off, the foundation. The core of your snowman: make the base.
I start by scooping up some of the fresh snow and patting it into a ball. Simple, right? I begin rolling it across the yard, imagining this ball growing in size, gaining momentum. The trick is to keep it even. One side of the ball can’t be larger than the other, or your snowman will end up looking like it’s been hit by an avalanche.
Ten minutes in, and I have a snowball that is bigger than I had expected—and wonky. It’s lopsided, slightly oval, and bulging out at one end like an overstuffed pillow. It is hard to say whether it’s a snowman or deformed igloo. Nevertheless, I push it along in the hopes that somehow this large mass of snow magically transforms itself into something symmetrical. But no. The more I roll it, the more it looks uneven. I can feel my frustration level rising, but I will not give in.
I finally plop this enormous mass down in the center of the yard and take a step back to admire my handiwork. Hmm… that is not what I had envisioned.
But it will do. It has potential. Perhaps I can make up for the odd shape with a pretty head.

Step 2: The Middle Section (also known as “The Second Attempt at Perfection”)
Okay, so now for the middle part. I’m already halfway there—sort of. After spending five minutes trying to balance the first “layer” of my snowman, I decide that it’s time to start the middle section. This is the part where you want to get it right. After all, this is the section that defines the shape of your snowman. It’s the part that either makes or breaks your frosty friend.
I collect some more snow, and start rolling again. This time, I remember to make it a little bit smaller than the bottom. Of course, a good snowman should have proportions, but, like with the bottom layer, it starts great and quickly degenerates into something more like a pancake. It’s way flatter than I envisioned, and I now have two blobs that, at their best, aren’t terribly balanced. I glance over at my snowman’s base and notice it’s starting to sink under the weight of the middle section. In my quest for symmetry, I’ve ignored the simple laws of physics.
“Okay, no big deal,” I tell myself. “I’ll just roll it a little more. A couple more turns and it’ll be perfect.” Famous last words.
I roll the second layer for what feels like an eternity, trying to get it into shape. After what feels like an endless battle of trying to get the snowball to cooperate, I finally get it to a size that looks somewhat acceptable. With a sigh of relief, I plop it atop the base, cross my fingers, and step back.
Well, it’s… still not great.
Now my snowman looks as if he is going into a middle-age crisis. The body was too small with an ill-proportionate gap among the layers, like someone is trying to balance himself with a failure outcome. Nonetheless, I refused to drop the idea for I am still too deep; I mean, I was committed in doing this one.
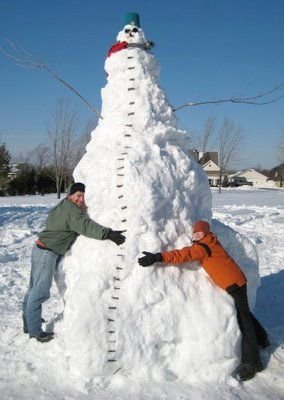
Step 3: The Head. Final Hurrah to Resuscitate the Situation
The head. That’s where things start getting better. All I have to do is create a perfectly round ball, put it on top, and voilà, my snowman suddenly will look put together, elegant, dignified-even masterful.
Spoiler alert: It doesn’t happen.
The head is always the hardest. It looks easy: roll it, slap it on top, and voilà. But for some reason, no matter how much snow I pile on the body, the head never matches its size. It ends up being a tiny little ball perched on top of the massive torso or some kind of oversized balloon-head thing that seems to be perpetually tipping forward and threatening to roll away.
After much deliberation and a few “why am I even doing this?” thoughts, I settle on a head that looks—well, it looks good enough. It’s not perfect, but it’s staying put. Kind of like that one relative who shows up at family gatherings with questionable fashion choices but is still somehow a part of the family.
Now, with the body of the snowman mostly assembled (and still slightly top-heavy), it’s time to bring it to life. Time for accessories.
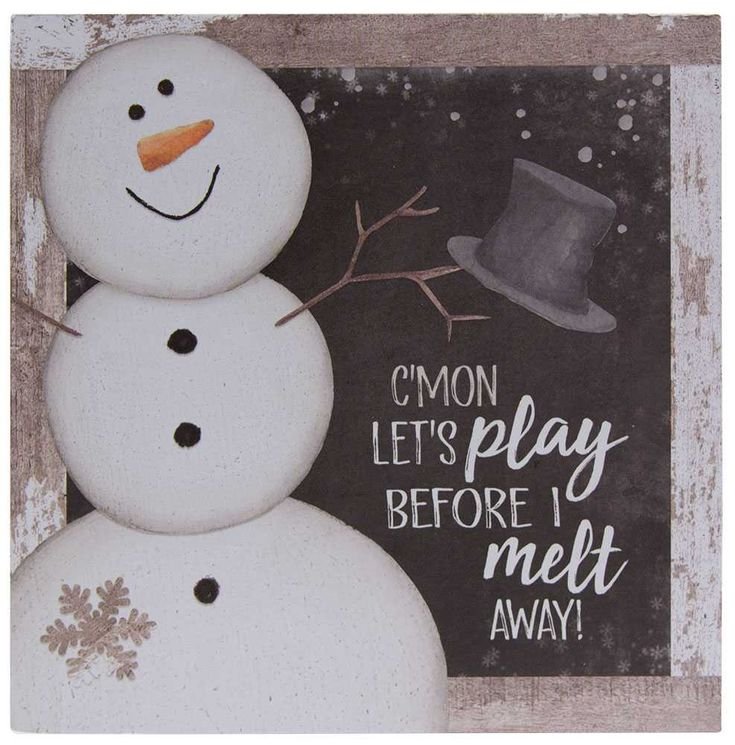
Step 4: The Face and Accessories (or: Trying to Add Character)
I begin with the eyes. I would love to use perfectly round coal eyes, but all I can locate are some small pebbles. “It’s good enough,” I tell myself. “They’ll do.” I place them on the face carefully and step back to survey their placement. They’re crooked. One eye is higher than the other. My snowman looks like it’s always confused, like it doesn’t know whether it should be smiling or crying.
Next: The nose. This should be easy, right? I grab a carrot from the fridge—only to realize it’s too long and pointy to look anything like the cute, slightly bulbous noses I see in magazines. I chop off part of the carrot and shove it into the snowman’s face. It’s a little too big, a little too awkward, but I guess it adds “character,” right?
Finally, the scarf and hat. These are meant to be the final flourishes that transform my snowman from a blob into a winter wonder. My scarf is too short, and my hat is slightly too large. I wrap the scarf around the neck and place the hat on top, wondering if I’ve just built the world’s most underwhelming snowman.

Step 5: The Verdict
And there it is. My snowman. It’s… a thing. Not the perfect, Instagram-worthy figure I had envisioned, but it stands there, somewhat balanced, with a wonky face and an odd assortment of accessories. It’s not the beautiful, round creation I had in my head, but it’s still mine.
After all, in the end, that is what really matters. Sometimes perfection is overrated. My snowman may not be perfectly symmetrical, but he has character. And let’s face it; that is probably a better lesson for life.
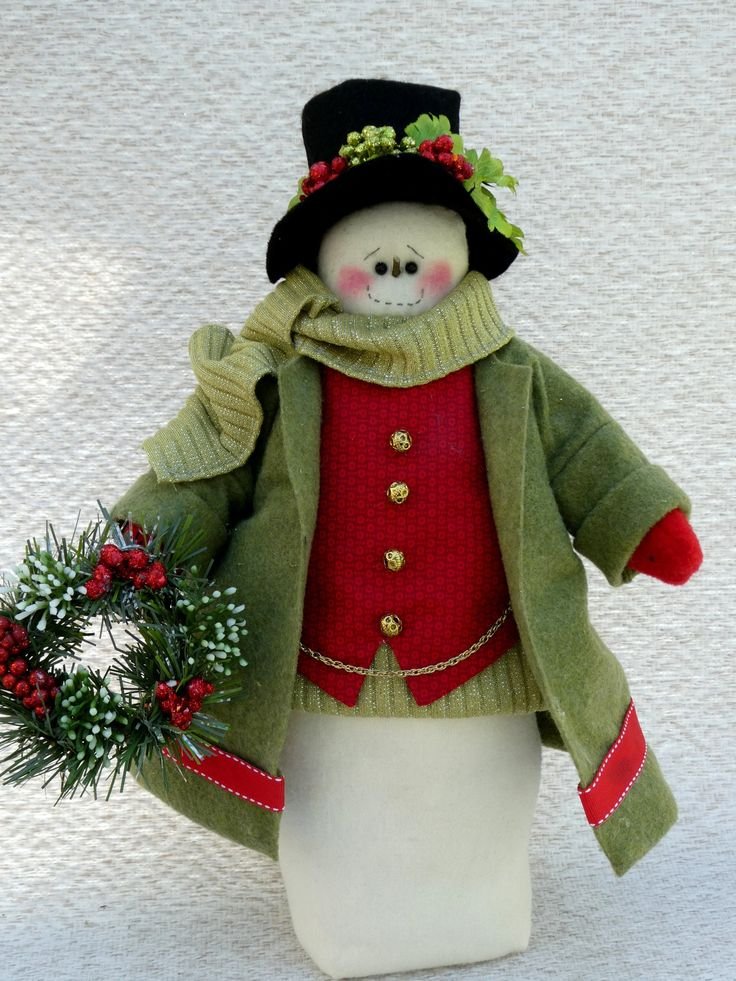
As I gaze at my snowman, proudly standing (or at least trying to), I couldn’t help but chuckle. Next year, I may try again; this time with a little more strategy. But for now, I am happy with my blob-like but much-loved snowman.









Thank you for your sharing. I am worried that I lack creative ideas. It is your article that makes me full of hope. Thank you. But, I have a question, can you help me?